
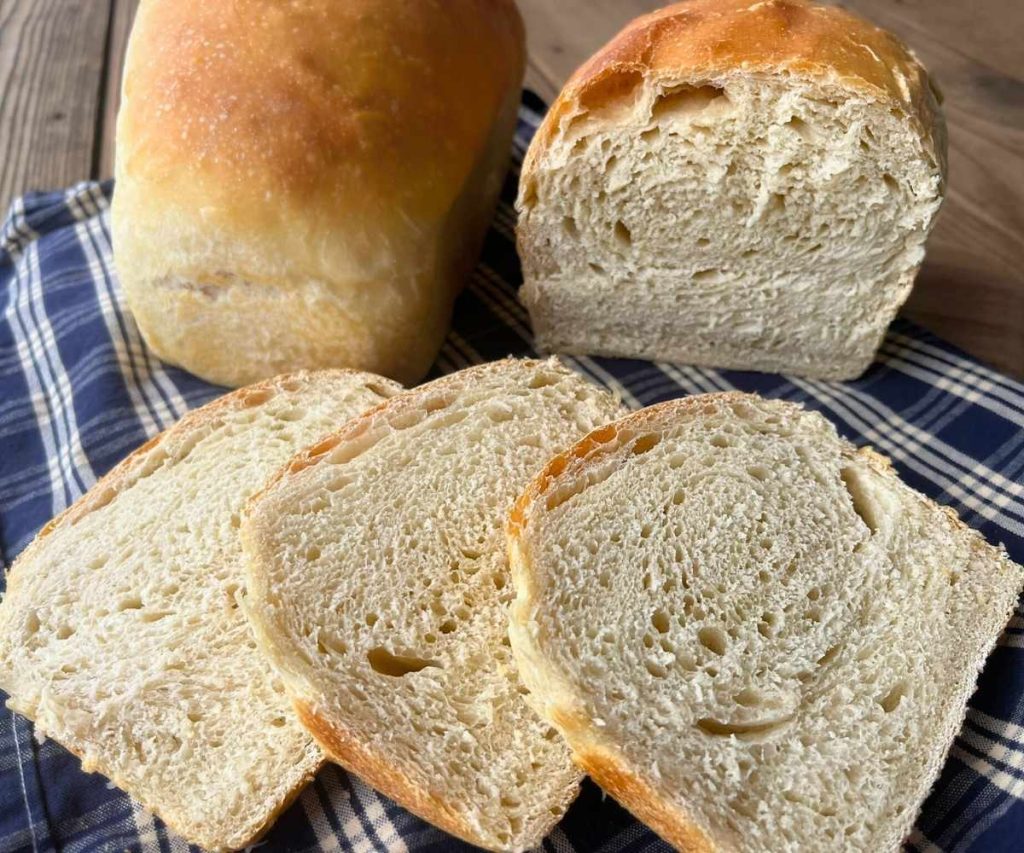
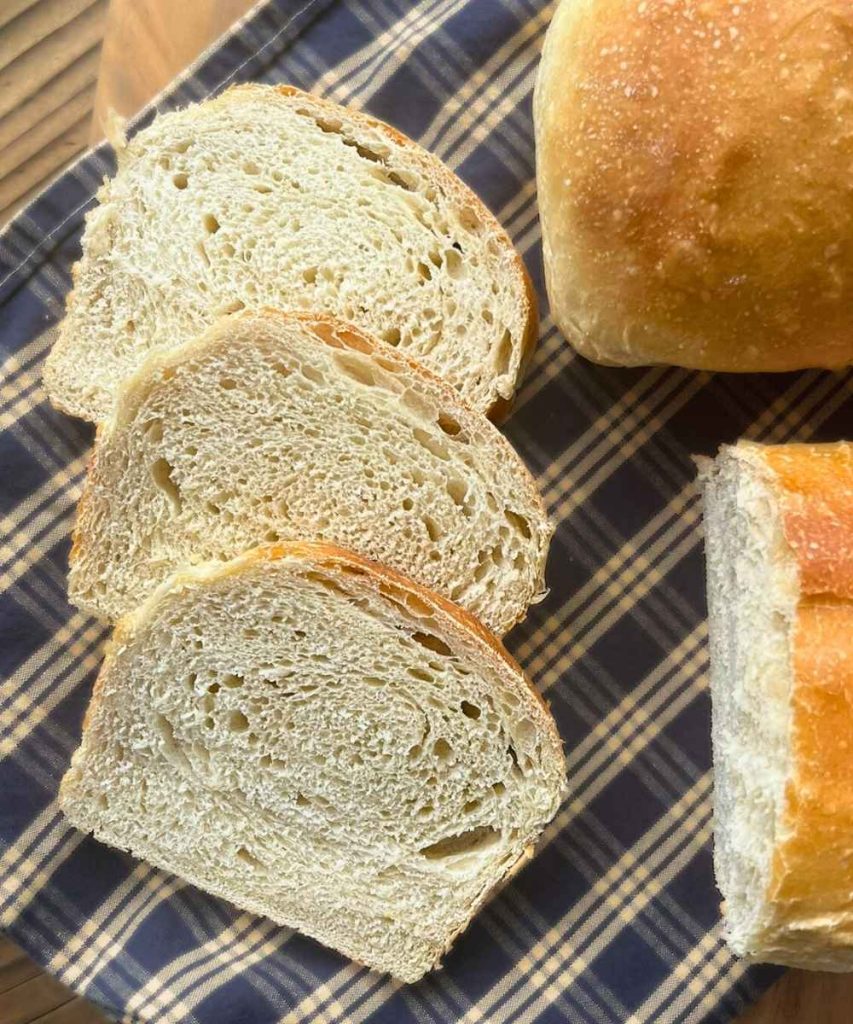
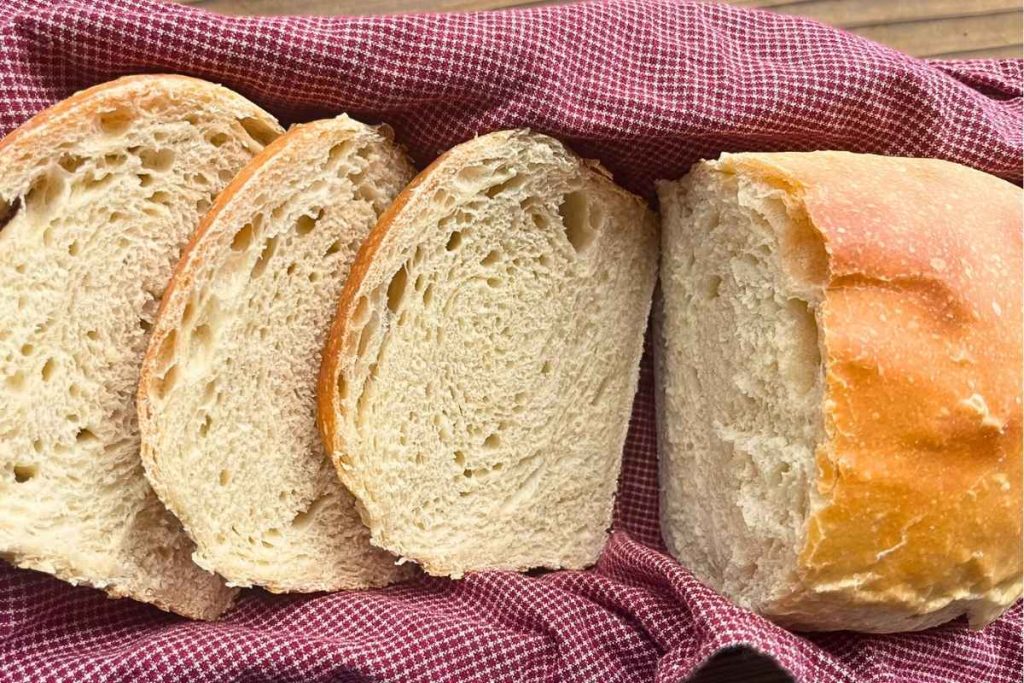
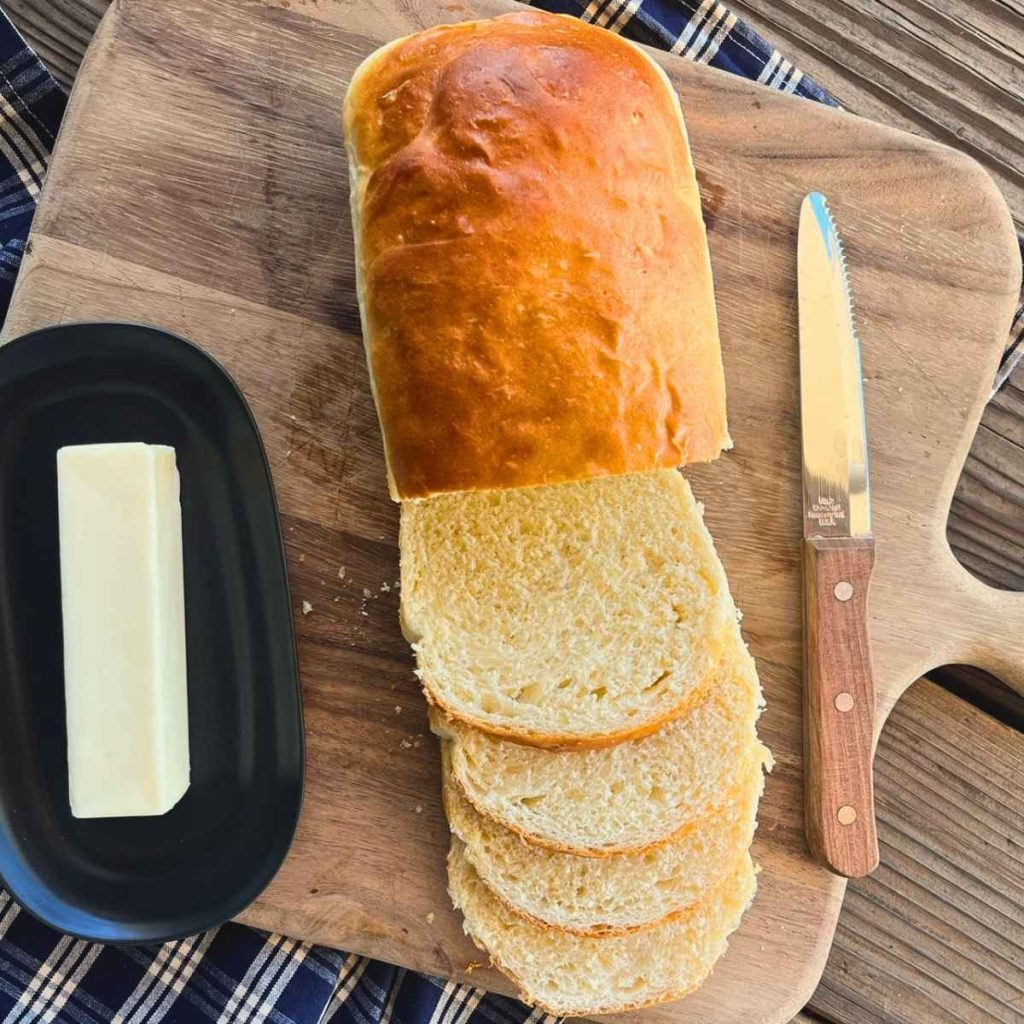
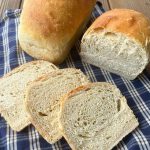
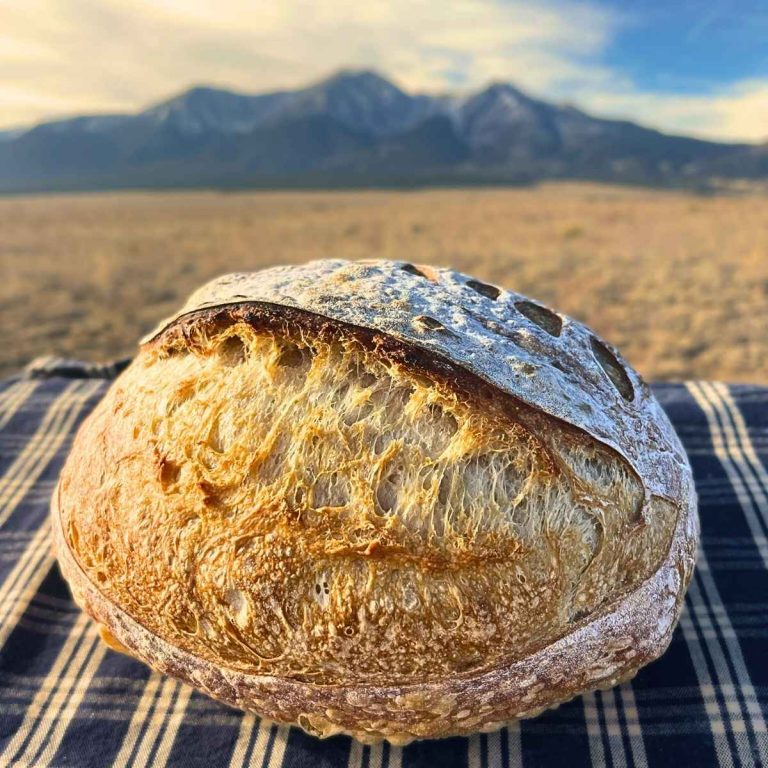
High Altitude Sourdough Sandwich Bread
This simple high altitude sourdough bread has a golden crust and a tender crumb that’s perfect for piling high with your favorite sandwich fillings. With just a handful of ingredients and an easy overnight rise, it’s the kind of bread you’ll find yourself baking again and again.
It’s a straightforward, reliable recipe that takes the guesswork out of high altitude sourdough baking.
Interest in other HIGH ALTITUDE BREAD RECIPES? Try out ARTISAN SOURDOUGH LOAF, soft & fluffy SANDWICH BREAD, 1.5 hour NO-KNEAD ARTISAN BREAD, easy to make DINNER ROLLS, or the best CINNAMON ROLLS with an overnight option. Check out all the BREAD RECIPES.
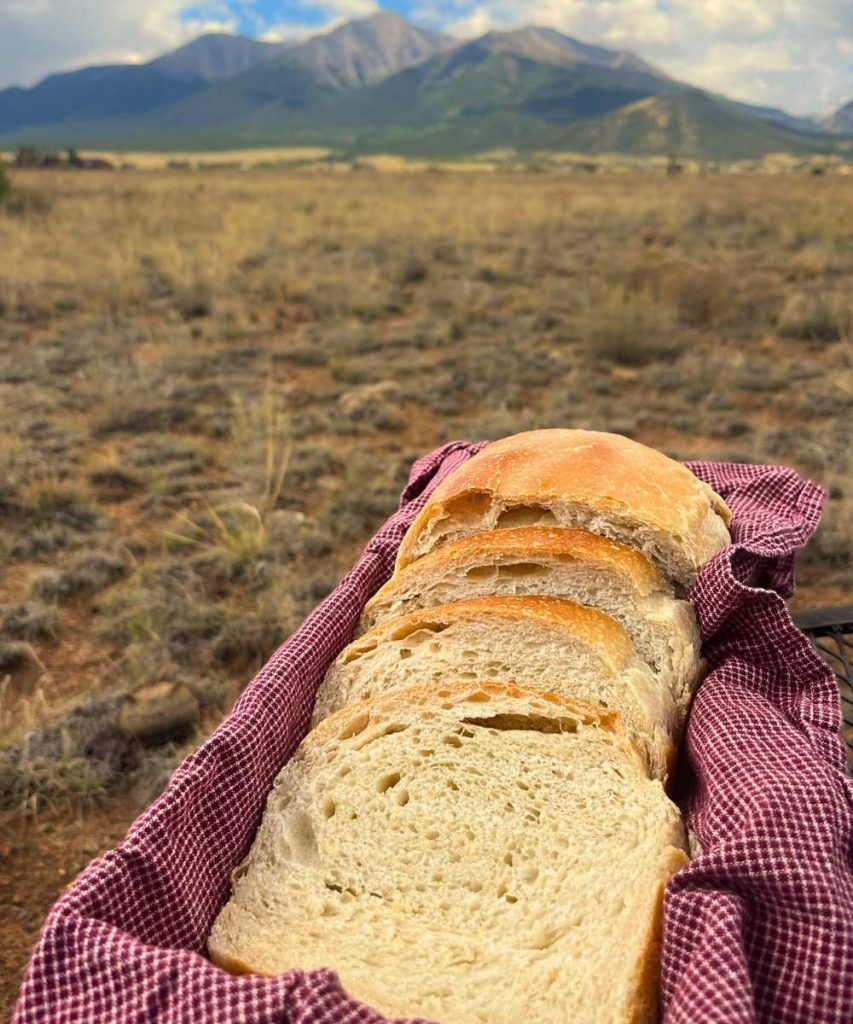
This High Altitude Sourdough Bread recipe is made at 8,000 ft elevation. no need to adjust for other altitudes. To adjust other recipes for different elevations check out high altitude baking adjustments.
Why You’ll Love This Recipe:
- SIMPLE INGREDIENTS – no commercial yeast, just starter & pantry staples
- LOW MAINTENANCE – overnight rise with only 1 stretch and fold
- SOFT & TENDER – soft crumb and tender crust, perfect for sandwiches
- NO ADJUSTMENTS FOR ELEVATION– whether your at sea level or 10,000 ft this recipe requires no guesswork
- NATURALLY LEAVENED – healthier than grocery store sandwich bread

Tips for High Altitude Sourdough Success:
- DON’T OVERPROOF – dough rises faster at high elevation due to lower air pressure. Dough may take 2 hours to double in size at sea level and 1 hour at higher altitudes.
- WATER & FLOUR BALANCE – the air is typically drier at high altitude, slowly add flour until the right consistency is met
- BAKING TIME & TEMP – the boiling point is lower high altitude so things can take longer to bake, preheat your oven for an extra 20 minutes to ensure it at the suggested temperature. Check your bread at the end of the suggested time and see if it needs additional time.
Serving Suggestions:
This sourdough sandwich bread is as versatile as it is delicious. Use it for everyday sandwiches, from peanut butter and jelly to turkey and cheese. It makes incredible grilled cheese with a golden, crisp crust.
If you have leftovers, try turning it into French toast or homemade croutons for a cozy way to use every slice.
Recommended Tools:
- LARGE BOWL or STAND MIXER WITH DOUGH HOOK – this recipe can be hand mixed or with an electric mixer
- MEASURING TOOLS – my suggestion would be to use a digital scale but measuring cups will also work
- PLASTIC WRAP, PLASTIC BAG, OR TEA TOWEL – the bread dough needs to be covered while resting
- BREAD PAN – this recipe makes TWO loaves
- COOLING RACK – for best results the bread needs to cool for a few hours after baking
- OPTIONAL: BENCH SCRAPER – I find cutting the bread dough and cleaning the counter top easiest with a bench scraper but this is totally optional

Ingredients:
- ACTIVE SOURDOUGH STARTER – active, bubbly starter for the best rise (see FAQs for directions on feeding your sourdough starter)
- WARM WATER – the water should be around 100-110° F. NOTE: if you have treated tap water filtered water would be beneficial to use, otherwise your water can weaken or kill off the natural yeast in the starter
- BREAD FLOUR – Bread flour is often the best choice for sourdough bread because it has a higher protein content (at least 12%) than all purpose flour
- HONEY – adds the perfect amount of flavor and sweetness. Granulated sugar can be swapped out 1:1.
- OLIVE OIL – helps to create a more tender and elastic crumb
- KOSHER SALT – kosher salt has a slightly milder and more pure taste compared to table salt
TIP: the most accurate way to measure flour is by weighing it. If you plan on measuring the flour never scoop it up, always spoon it into the measuring cup and level it off
Find the full ingredients list in the recipe box below
How To Make Sourdough Sandwich Bread:
- MIX STARTER, WATER, HONEY, & OLIVE OIL – add to a bowl of a stand mixer mix until the starter is fully combine
- ADD FLOUR & SALT – stir with a dough whisk or in a stand mixer just until the flour is incorporated and starting to pull away from the sides of the bowl
- REST – cover the bread dough with a wet tea towel or with plastic wrap for 60 minutes
- GRAB & STRETCH – grab the edge of the bread dough and pull straight up and fold it toward the middle. Do this around the bowl 8 times.
- REST OVERNIGHT – cover the dough with a wet tea towel or plastic wrap and let rest at ROOM TEMPERATURE overnight (10-12 hours)
- SHAPE – dump out dough onto a clean counter top and divide the dough in half. Stretch out each half in a rectangle (approx. 12″ x 12″). Fold the dough in half and roll up into a log.
- REST & PREPARE PAN – left the dough rest on the countertop for 10 minutes. Spray or grease your bread loaf pans with oil or butter.
- FINAL SHAPE & REST – create tension by placing the dough with smooth side down and seam side up. Pinch the sides and end of the dough towards the center and press together to create additional tension on the dough. Place the dough in the loaf pan with seam side down. Cover and rest at room temperature for 2-3 hours or until doubled in size.
- BAKE – bake at 375°F for 45-50 minutes or until the top of the loaf is a deep golden brown.

FAQs:
How much to feed the sourdough starter?
Use 1/2 c sourdough starter, 2/3 c warm water, and 1 c bread flour to feed your sourdough starter. This creates a shaggy, moist starter that creates a strong active starter for all your sourdough recipes. Feel free to double or triple this recipe depending on your need.
How soon after feeding a sourdough starter can I use it?
The sourdough starter is ready to use when it has doubled in size within a few hours of feeding, looks airy with lots of bubbles, and has a pleasant, slightly tangy aroma. At this stage, the yeast is at its peak strength, meaning it can give your dough the lift it needs for a beautifully risen sourdough loaf.
How to store a sourdough starter?
After feeding and using your active starter, you can refrigerate the discard. Store the discard in a glass jar with a lid in the refrigerator any time you are not using it. Take the jar out of fridge when it times to feed the starter.
Other High Altitude Recipes:


If you make this delicious HIGH ALTITUDE SOURDOUGH SANDWICH BREAD please rate this recipe and leave a comment below about how it turned out. I would love to see pictures of your loaves! If you have any questions, post them below and I would love to help you out.
High Altitude Sourdough Sandwich Bread
Wild Flour Recipes | Baking at 8,000 ft
www.wildflourrecipes.com
Equipment
- Large Bowl or Stand Mixer
- Measuring Tools digital scale or measuring cups
- Tea Towel or Plastic Wrap
- 2 bread pan
- Cooling Rack
Ingredients
- 200 grams Active Sourdough Starter 1 cup
- 600 grams Warm Water 2 ⅔ cups
- 85 grams Honey ¼ cup
- 1050 grams Bread Flour 7 cup, additional maybe needed
- 40 grams Olive Oil 3 tablespoons
- 24 grams Kosher Salt 4 teaspoons
Instructions
- MIX STARTER, WATER, HONEY, & OLIVE OIL – combine in a large mixing bowl until fully incorporated
- ADD FLOUR & SALT – add the flour and salt to the starter and water. Mix just until the flour is incorporated and starting to pull away from the sides of the bowl. If the dough is very wet add additional flour, start with small amounts and do not add more than 150 grams (1 cup).
- REST – cover the bread dough with a wet tea towel or with plastic wrap for 60 minutes.
- GRAB & STRETCH – initially the dough is going to be very sticky. Grab and stretch the dough by grabbing the bottom of the dough at 3, 6, 9, and 12 o'clock around the bowl and stretching it up and to the middle. Do this twice around the bowl for a total of 8 stretches.
- REST OVERNIGHT – cover the dough with a wet tea towel or plastic wrap and let rest at ROOM TEMPERATURE overnight (10-12 hours).
- SHAPE THE DOUGH & REST – lightly flour your clean countertop, place bread dough on it, and divide the dough in half. Spread the each half out into a square approximately 12"x12". Fold the dough in half and roll up the dough tightly from the short end. Let the dough rest on the counter for 10 minutes.TIP: if you are having trouble handling the dough then wet your hands and the dough won't stick
- PREPARE PAN – lightly grease 2 bread loaf pans with oil or butter.
- FINAL SHAPE & REST – create tension by placing the dough with smooth side down on the countertop and seam side up. Pinch the sides and end of the dough towards the center and press together to create additional tension on the dough. Flip the dough over and place it in the loaf pan with seam side down. Cover and rest at room temperature for 2-3 hours or until doubled in size.
- PREHEAT – preheat the oven to 375°F
- BAKE – bake for 45-50 minutes or until the top of the loaf is a deep golden brown. NOTE: baking at altitudes lower than 8,000ft may only require 40 minutes of baking.
- COOL & ENJOY! – remove the loaves from the pan and place on a cooling rack for 1-2 hours before cutting it. Enjoy with a slather of butter or jam, or make a delicious lunch meat sandwich.


This was really good. My first time making sourdough starter bread but I’ve made some other breads before with active dry yeast and instant yeast. Almost every time when baking using those recipes the dough has come out too dry and I’ve had to add water to make the dough salvageable and hope I don’t over adjust. Although there are guides to adjusting for high altitude, it was nice to have a straightforward recipe that leaves out all the guesswork. Weirdly exciting to have dough that came out a little sticky rather than too dry like I’m used to.
I did make a couple adjustments due to poor timing on my part. First I had a long appointment well the shaped dough was proofing, which meant the shaped dough would be proofing for more than 2 hours. Because I didn’t want it to overproof I stuck it in the fridge for a longer, slower proof. I was really nervous this was going to ruin the bread, but it ended up still turning out great and not overproofing. Next time I would make sure I was home to take out the shaped loaf on time however. But it is something to note that you can still slow proof the shaped loaf in a pinch.
Overall, this is a really good recipe, and I recommend it.
Thanks so much for the comment and letting us know about another option for proofing. Personally I think sourdough is much more forgiving than most people make it out to be and can be made to work with busy schedules.