
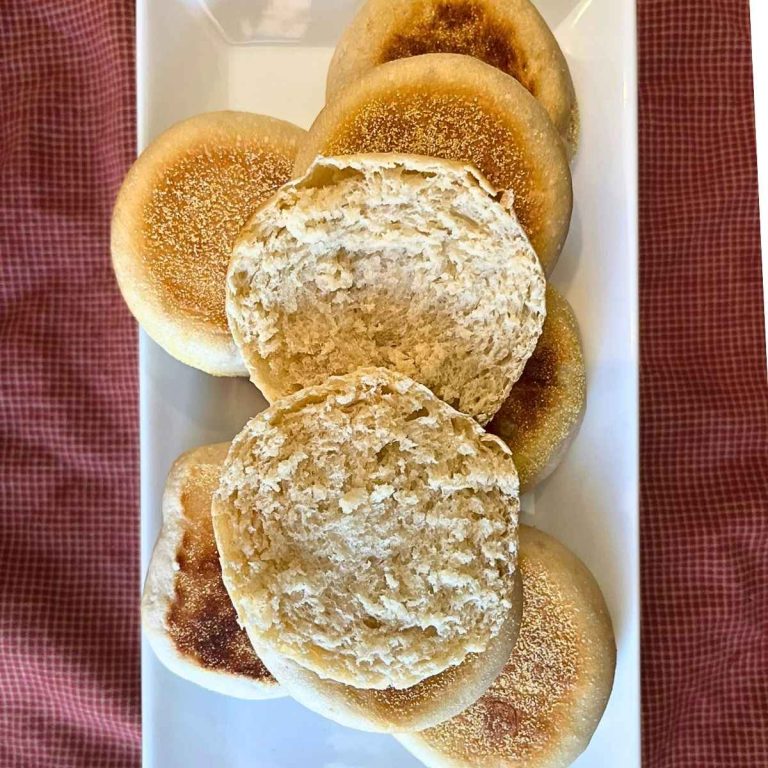
Easy Homemade High Altitude English Muffins
Soft, chewy, and filled with those signature nooks and crannies, these high altitude English muffins are a game-changer for breakfast lovers. Whether you enjoy them toasted with jam or as the base of breakfast sandwiches, their homemade flavor and texture far surpass anything you’ll find at the grocery store.
Get ready to take your breakfast to the next level with these easy homemade English muffins!

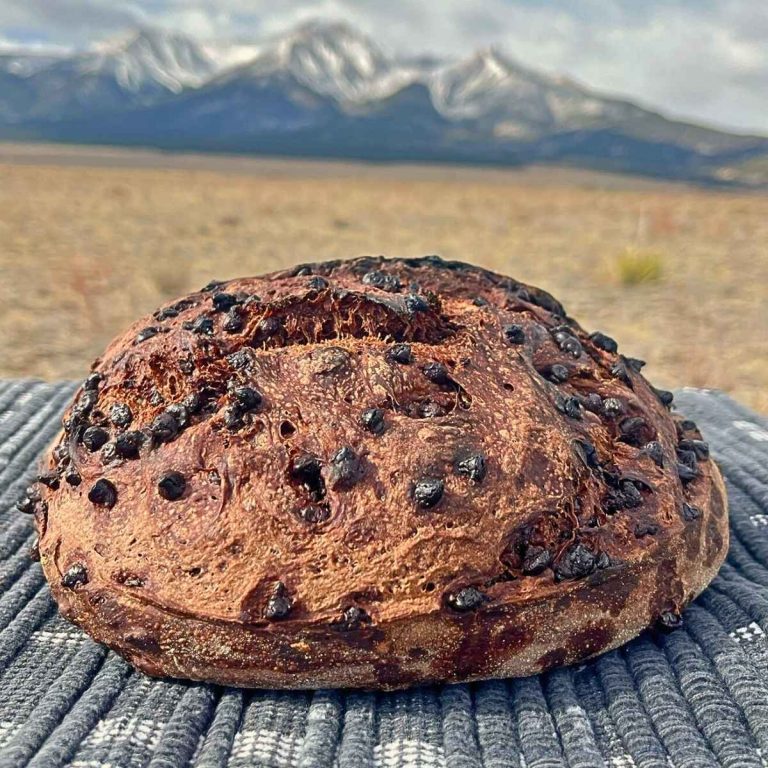
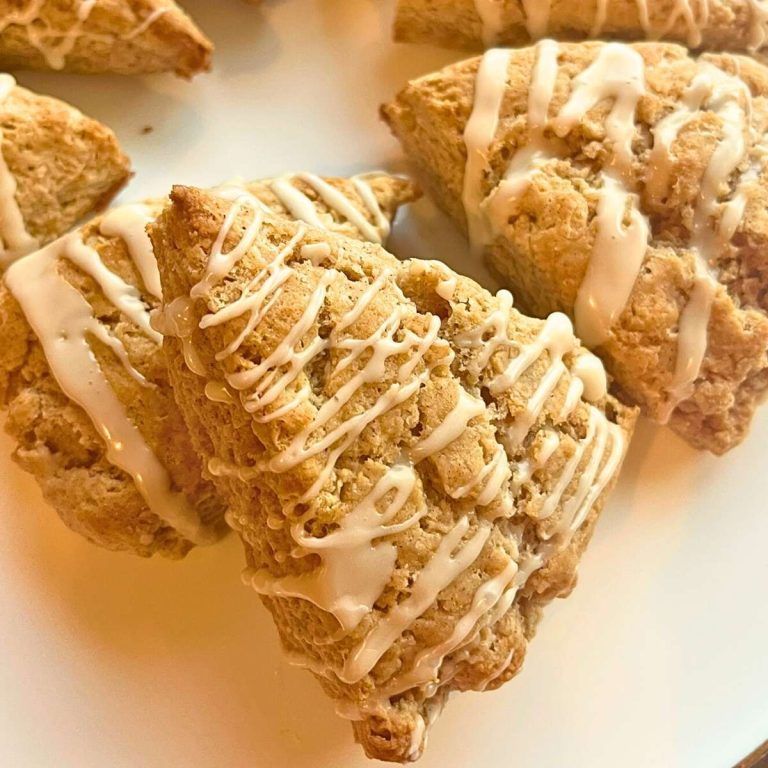
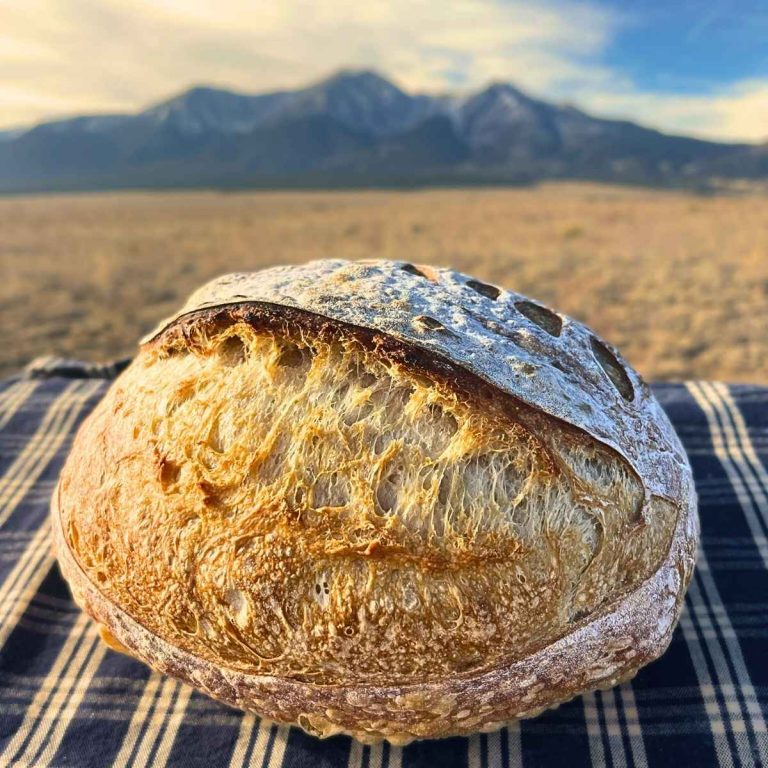
Check out these other HIGH ALTITUDE BREAKFAST RECIPES…Lemon Poppy Seed Bread with lemon glaze , Dutch Baby Pancake, easy Cinnamon Rolls, flaky Biscuits, moist Banana Bread, and perfectly light Blueberry Scones.
This High Altitude English Muffins recipe is made at 8,000 ft elevation. To adjust the recipe for other elevations check out high altitude baking adjustments.

The first time I tried making a batch of English muffins at high altitude, I had a hard time getting them to rise properly and cook fully in the middle. The dough felt dense, and instead of the light, fluffy texture I was hoping for, the final product was tough and lacked those signature air pockets.
I was determined to get it right, so I tweaked my English muffin recipe—adjusting the yeast, hydration, and proofing time to suit the altitude. After a few trials, I finally landed on a great recipe that produces the best homemade English muffins every time.
The best results came from letting the dough rise slowly and cooking them just right on the griddle. Now, when I make English muffins today, I know I can expect consistent results—a golden crust, soft interior, and plenty of airy pockets.
Why you’ll love this recipe:
- HIGH ALTITUDE FRIENDLY – Designed specifically for mountain bakers, this recipe ensures a perfect rise and texture.
- IRRESISTIBLE TEXTURE – Crisp on the outside, soft and airy on the inside, with plenty of those classic nooks and crannies.
- NO KNEADING REQUIRED – A simple mix-and-rise method makes this recipe easy, even for beginner bakers.
- GREAT FOR MAKE-AHEAD BREAKFASTS – Whip up a batch, freeze them, and enjoy quick, homemade breakfasts all week.
- ENDLESSLY VERSATILE – Perfect toasted with butter, topped with jam, or used as the base for a hearty breakfast sandwich or eggs benedict.

Recommended tools:
- MIXING BOWLS – I use a medium bowl for mixing up the dough and a large bowl to allow the English muffin dough to rise.
- OPTIONAL: DANISH DOUGH WHISK – I just got a Danish dough whisk for Christmas and it was a game changer for mixing bread dough.
- OPTIONAL: BOWL OF A STAND MIXER and DOUGH HOOK ATTACHEMENT – if you want to skip manually mixing the dough use a stand mixer.
- PLASTIC WRAP – tightly covering the dough during rising to trap the moisture in and preventing your dough ball from drying out.
- LARGE SHEET PAN with PARCHMENT PAPER– if you don’t have a large sheet pan then you can use several small ones. The sheet pan should have sides to hold the corn meal or semolina.
- ROLLING PIN – check out my favorite products below to find the rolling pin I use.
- BISCUIT CUTTER – I love simplicity in my kitchen so I use a cookie cutter that I use to cut biscuits instead of fancy English muffin rings.
- ELECTRIC GRIDDLE or LARGE SKILLET or CAST IRON SKILLET – whatever you choose to cook your English muffins is up to you. I like to use my large electric griddle so I can control the heat and cook a lot at one time.
- 9X13 PAN or PAN TO COVER SKILLET – at high altitude it is hard to reach the internal temp required to cook the middle of the muffins, covering the muffins while cooking helps trap in the heat.
- OPTIONAL: INSTANT-READ THERMOMETER – the only way to know if the muffins are done is to cut one open or check the internal temperature

Ingredients:
- HONEY – adds a little sweetness without using sugar
- SALT – never skip the salt in baked goods, salt helps to enhance flavors
- INSTANT YEAST – creates the beautiful rise and air pockets
- BUTTER and MILK – adds a beautiful richness and moisture
- LARGE EGG – provides structure and helps hold the dough together
- ALL PURPOSE FLOUR – the base of the English muffins. PLEASE NOTE: I have never made this recipe with whole wheat flour
- CORNMEAL or SEMOLINA FLOUR – helps create the classic crispy crust of the English muffins and prevents them from sticking to the skillet
Find the full list of ingredients in the recipe card below

How to make High Altitude English Muffins:
- MIX THE DOUGH – the dough will be sticky but should pull away from the sides of the bowl when mixed
- REST THE DOUGH – for the best flavor the dough should be rested in the fridge for minimum 6 hours or overnight.
- OPTIONAL: if you want to skip the extended rest time, let the dough rise in a warm place for 1 hour or until doubled in size.
- PREPARE THE BAKING SHEET – line the pan with parchment paper and cover the entire surface with semolina flour or cornmeal.
- ROLL OUT & CUT THE MUFFINS – roll the dough to 1/2 – 3/4 inch thickness and cut out muffins. NOTE: the dough scraps can be re-rolled and cut out but these English muffins will be a lot more dense.
- REST THE DOUGH – for 30-45 minutes to allow the dough to start rising
- COOK THE MUFFINS – **PLEASE NOTE**: the cooking time will be different for everyone since it will be dependent on the thickness of the dough, the temperature of the dough, the type of cooking device, and the temperature you cook the muffins at.
Check out the step-by-step pictures of ‘How to make homemade English muffins’:


Find step-by-step instructions, with lots of tips, in the recipe card below
FAQs:
How to store homemade English muffins:
Store homemade English Muffins at room temperature in an airtight container for up to 5 days. For longer storage freeze the English Muffins. If you live in a humid environment add a paper towel inside the container to absorb any extra moisture.
How long do English muffins last in the fridge?
English Muffins can be stored in the fridge to extend their shelf life but the muffins will also dry out. Freezing English muffins will extend their shelf life without drying them out.
How long can you freeze English muffins?
Place homemade English muffins in an airtight container or wrap tightly with plastic wrap and aluminum foil. Store the muffins in the freezer for up to 3 months.
How to defrost English muffins?
Place frozen English muffins in the refrigerator to thaw overnight or at room temperature for a few hours. If you are in a hurry then wrap the frozen muffin in a damp paper towel and microwave in short intervals, checking frequently to avoid cooking and drying out the English muffin.

Other high altitude recipes:
Breakfast Recipes:
- Blueberry Coffee Cake with Streusel Topping
- Blueberry Muffins
- Cinnamon Rolls
- Easy Crepes with Dairy Free Option
- Fluffy Pancakes
- Dutch Baby Pancake
Bread Recipes:
- No-Knead Artisan Bread
- Fail-Proof Flaky Biscuits
- Soft & Fluffy Dinner Rolls
- Pumpkin Bread with Streusel Topping
- Banana Bread
- Sandwich Bread
Dessert Recipes:

Easy Homemade High Altitude English Muffins
Wild Flour Recipes | Baking at 8,000 ft
www.wildflourrecipes.com
Equipment
- medium mixing bowl
- large mixing bowl
- Plastic wrap
- Large sheet pan or several small one, with sides
- Rolling Pin
- Biscuit cutter
- Electric griddle or large skillet
- Instant read thermometer optional
Ingredients
- 3 tbsp Honey or 2 tbsp white sugar
- 1 tsp Salt
- 2 tsp Instant yeast
- 4 tbsp Butter melted
- 1 Large egg room temperature
- 1½ cups Milk warmed
- 3 cups All purpose flour extra needed for rolling out & cutting
- ½ cup Cornmeal or Semolina flour amount depends on the size of baking sheet
Instructions
Mix the dough
- Prepare the ingredients: melt the butter, set the egg out to reach room temperature, and warm the milk to 100-110° F.
- Mix the warm milk and yeast together in the medium bowl and let it sit for several minutes until the yeast starts dissolving and creating a foam (blooming).
- Add the egg into the yeast mixture and mix well. Add in the honey, salt, melted butter, and flour. Mix well until all the ingredients are combined and a dough forms. The dough will be sticky and shiny. The sticky dough should pull away from the sides of the bowl when mixing.NOTE: A quick reminder that the amount of flour required to make yeast doughs always depends on the warmth and humidity in your kitchen. If the dough appears too wet and clings to the side of the bowl then sprinkle a small amount of flour in and mix again. Just be careful to not add too much flour.
Rest the dough
- Spray a large bowl with nonstick spray. Gently scrape all the dough into the greased bowl. Tightly cover the bowl with plastic wrap. Place the covered bowl into the refrigerator for a minimum of 6 hours or preferably overnight to slowly let the dough rise. The extended chill time allows the classic English muffin flavor to develop.
- QUICK RISE OPTION: If you want to skip the overnight rise then place the dough in the covered bowl in a warm place to rise until doubled, usually 40-60 minutes at high altitude. The warm dough will be stickier and harder to work with and may require extra flour when rolling it out.
Prepare the baking sheet
- Line the large baking sheet with parchment paper. Sprinkle half of the cornmeal over the parchment paper in an even layer, making sure the entire area is covered. The cornmeal ensure the bottom of the dough won't stick.
Roll out & cut the muffins
- Place the cold dough onto a clean, lightly floured surface. Lightly sprinkle flour onto the top of the dough. Using a rolling pin, roll the dough to an even thickness of 1/2 inch to 3/4 inch.
- For the classic English muffin round look use a biscuit cutter or 3 inch circle cookie cutter. Or use a knife to cut 3 inch squares to avoid wasting scraps. Place the cut muffins right on top of the cornmeal in the prepared baking sheet.TIP: dust the cutter in flour between each muffin to prevent it from sticking to the doughOPTIONAL: the remaining scraps of dough can be clumped together and re-rolled out to make additional muffins. This dough will be more dense and take a longer time to cook (usually about double the time), so keep track of the different muffins when cooking.
- Sprinkle the top of the dough muffins with the remaining cornmeal or until the tops are completely covered.
Second rise
- Cover the pan and muffins loosely with plastic wrap or a clean kitchen towel. Rest the dough for 30-50 minutes until the dough starts to slightly rise. NOTE: this time will be dependent on how warm your kitchen is. To speed up the process place the pan in a warm spot.
Cook the muffins
- **PLEASE NOTE*** – the cooking time will be different for everyone since it will be dependent on the thickness of the dough, the temperature of the dough, the type of cooking device, the temperature you cook the muffins at, and your elevation.The numbers provided below are based on the amount of time it took me while using a non-stick electric griddle at 8,000 ft.
- Preheat an electric griddle to 300-325° F or a large skillet to medium-low heat. NOTE: do not grease the griddle or skillet, the cornmeal will help the muffins not stick.
- Place the unbaked muffins onto the ungreased griddle or skillet, allow enough space between the muffins to flip them. Depending on how large your griddle or skillet is, the muffins may have to be cooked in batches.TIP: it is difficult to fully cook the middle of the muffin at high altitudes. To help speed up the cooking process to ensure the middle cooks before the outside burns cover the English muffins with a pan or cover.
- Cook the muffins for 8-10 minutes on the first side. The muffins will start to puff up while cooking and the bottom turn a dark golden brown. Keep a close eye on the cooking temperature and the bottom of the muffin. The cooking temperature needs to be hot enough to cook the muffin but low enough that the outside doesn't burn before the middle is fully cooked.
- Flip the muffin to cook the other side for another 8-10 minutes. Again keep an eye on the bottom of the muffin incase the temperature needs to adjusted.
Check for doneness
- There are 2 ways to check if the middle is fully cooked:1: sacrifice a muffin and split it open and check the middle to ensure it is fully cooked through2: check the internal temperature of the muffin, which should be 195-200° F. At 8,000 ft of elevation the muffins are fully cooked at 196° F, higher elevations will be 195° F and lower altitudes will be 198-200° F.
- If the muffins are being cooked in batches make sure to brush off the excess cornmeal in between cooking.
- For the classic English muffin look, split the muffins by using a fork. Poke the fork into the side of the muffin and repeat as you go around the edge and then pull apart.
Notes
If you make these delicious High Altitude English Muffins recipe leave a comment below and let me know how it turned out. If you have any questions, post them below and I would love to help you out.


Thank you for this recipe and instruction for high altitudes! Made my best english muffins yet.
I didn’t realize how much fluffier (and w/so many more nooks and crannies) they could be 🙂