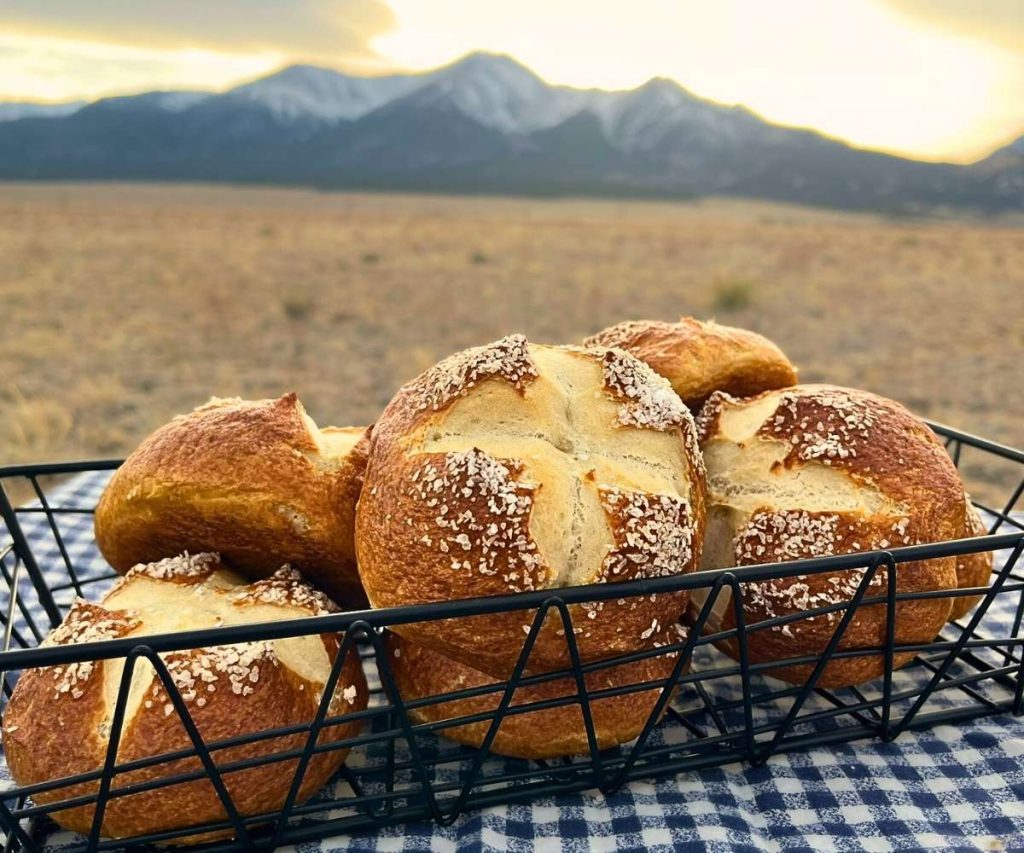
High Altitude Pretzel Buns
Easy to make, quick to bake, and come out perfectly every time with beautifully browned tops and a sprinkle of coarse salt. Soft and fluffy on the inside with that classic chewy pretzel crust, these buns are perfect for burgers, sandwiches, or simply served warm with butter.
Designed specifically for baking at elevation, these high altitude pretzel buns are perfect for weeknight dinners or casual entertaining.

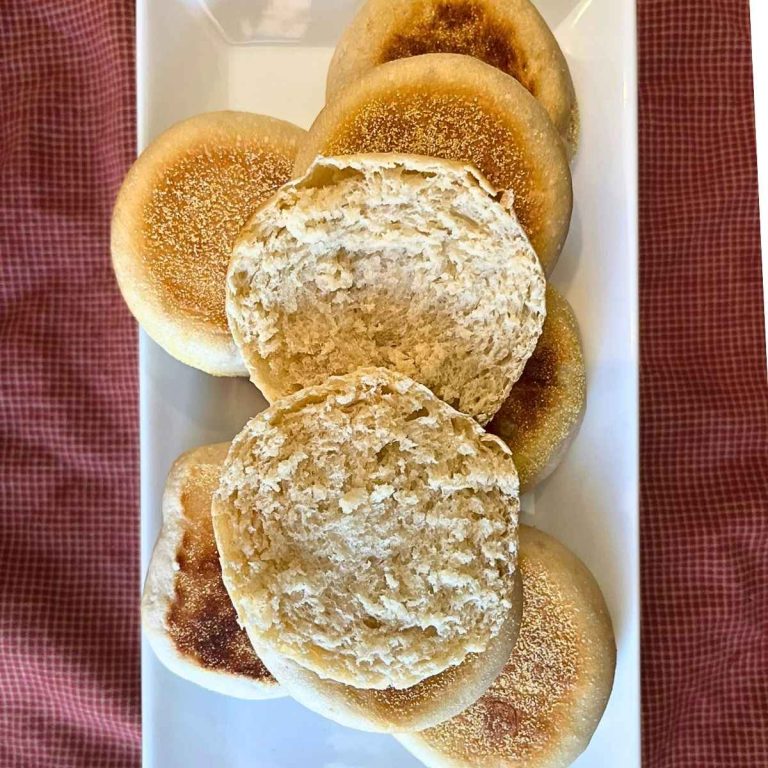
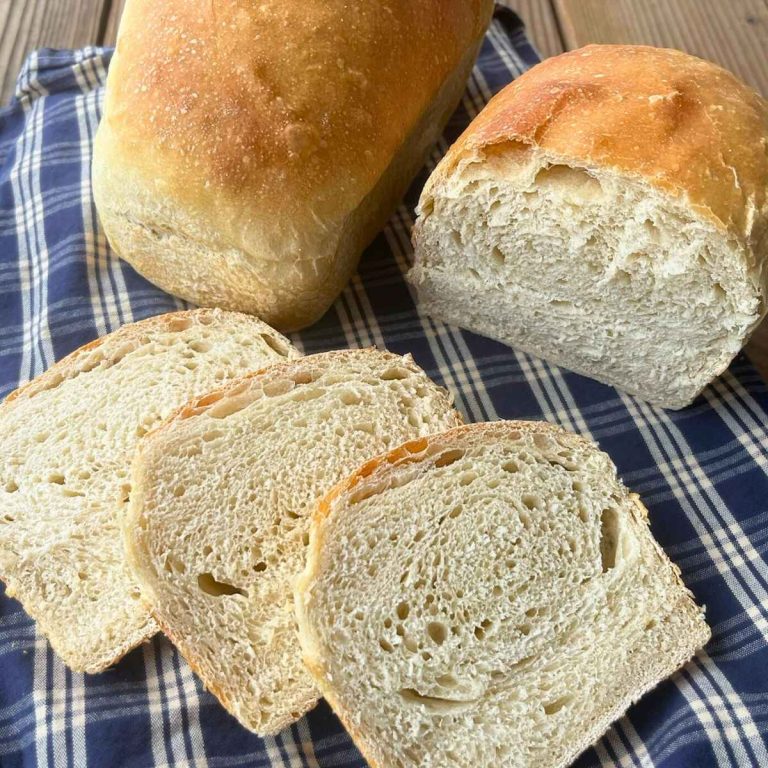
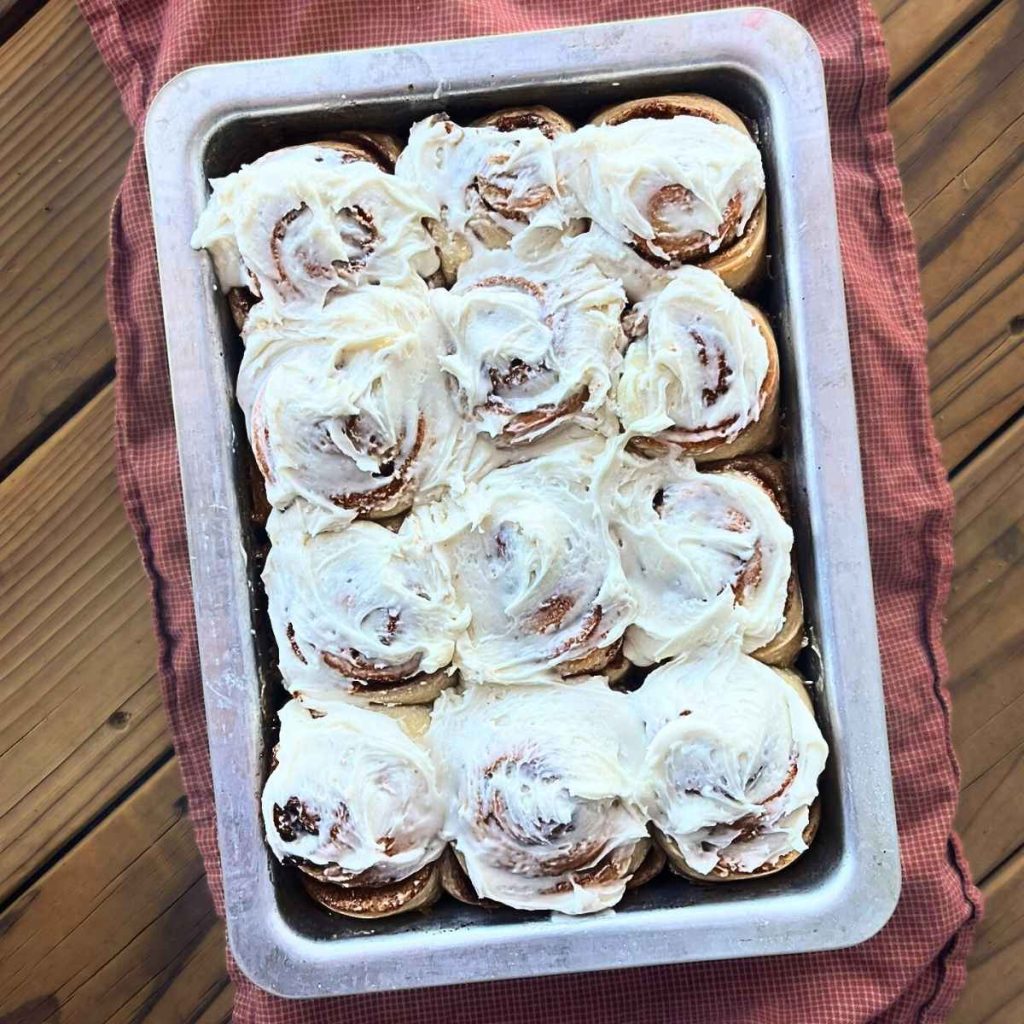
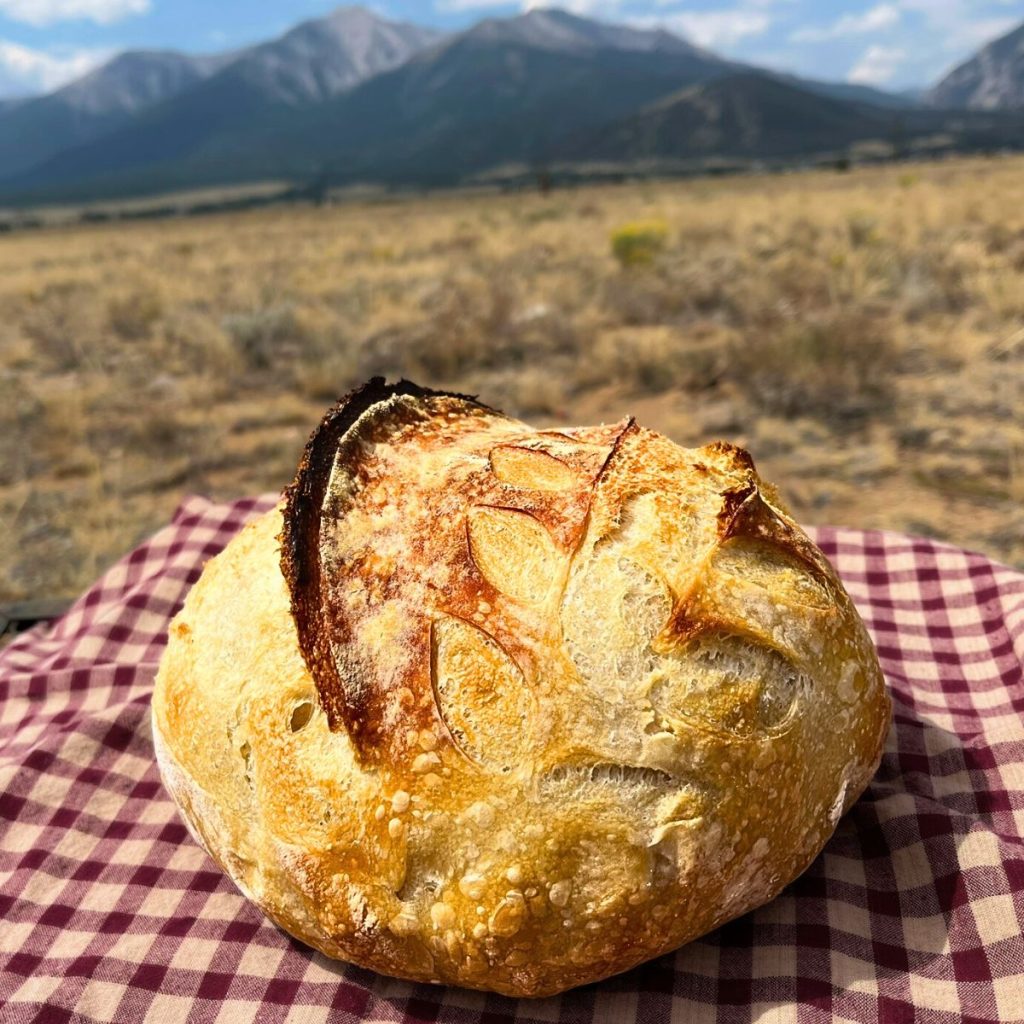
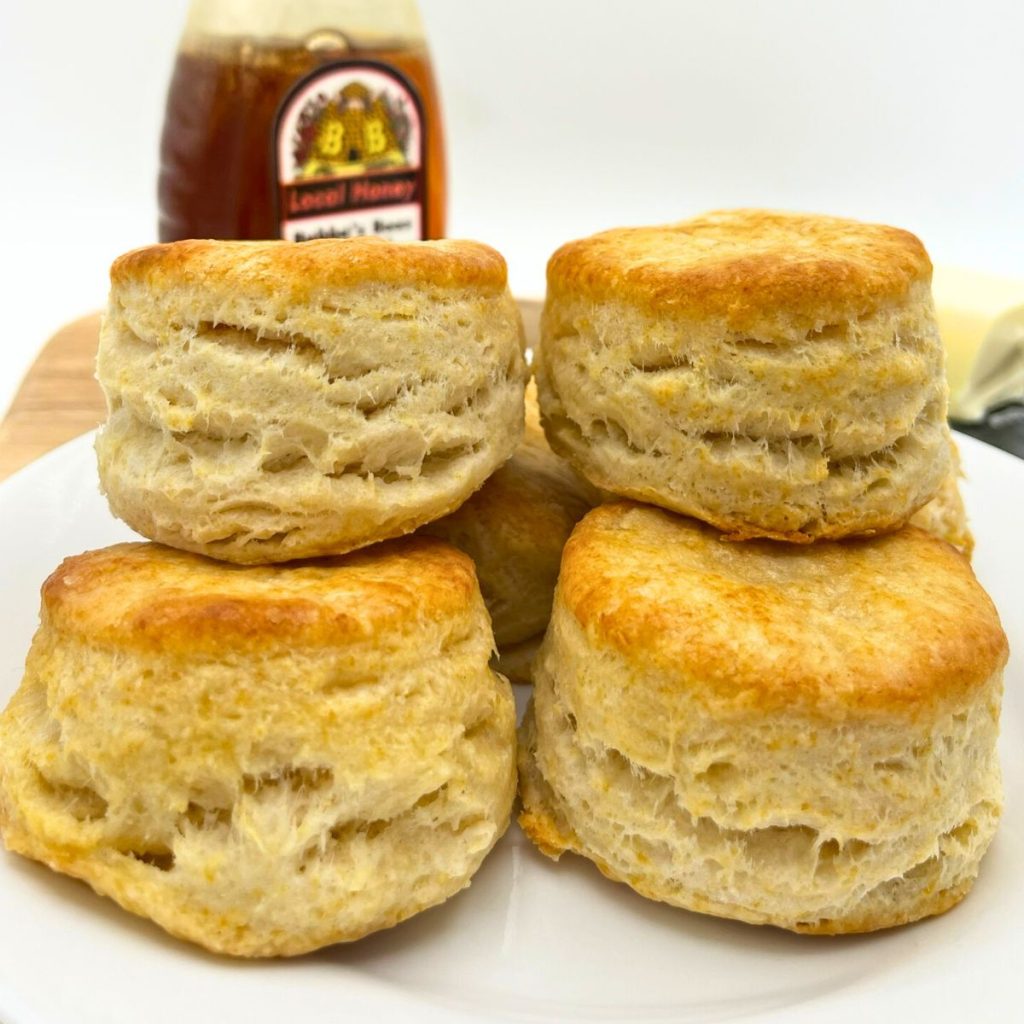
Try these other HIGH ALTITUDE BREAD RECIPES…soft and fluffy Dinner Rolls, delicious English Muffins, quick and easy Sandwich Bread, no-knead Artisan Bread.
This High Altitude pretzel buns recipe is made at 8,000 ft elevation. To adjust the recipe for other elevations check out high altitude baking adjustments.

Why You’ll Love This Recipe:
- QUICK AND EASY TO MAKE – No complicated steps or long waits, making these pretzel buns doable even on busy days.
- SOFT INSIDE, CHEWY OUTSIDE – You get that classic pretzel texture with a fluffy interior and just the right amount of chew.
- BEAUTIFULLY BROWNED TOPS – The buns develop a deep golden color with a glossy finish that looks bakery-worthy every time.
- IRRESTIBLE SALTY FINISH – A sprinkle of coarse salt adds the perfect contrast and classic pretzel flavor that keeps everyone coming back for more.
- VERSATILE AND CROWD-PLEASING – Perfect for burgers, sandwiches, sliders, or soup.
Recommended Tools:
- ELECTRIC STAND MIXER – skip the hand kneading and let the stand mixer do the work for you
- MEASURING CUPS – baking is a little bit of a science, especially at high altitude, exact measurements help ensure results
- PLASTIC WRAP or TEA TOWEL – covering the dough while it rises helps it from drying out
- LARGE POT – when baking soda is added to the water it boils up and requires a big pot
- SLOTTED SPOON – helps to scoop the buns out of the baking soda water without scooping up water
- LARGE BAKING SHEET – the buns will expand so use a big baking sheet
- OPTIONAL: PARCHMENT PAPER – I love to use parchment paper to help with clean and to ensure things don’t stick

Ingredients:
Pretzel Bun Dough
- WARM WATER – the water should be between 100-110° F
- ACTIVE DRY YEAST – for best results make sure the yeast isn’t old
- WHITE SUGAR – helps the yeast to grow
- BUTTER – I always use salted butter
- ALL PURPOSE FLOUR – OR for an even fluffy inside use BREAD FLOUR
- SALT – use table salt for the dough
- COURSE SALT – for sprinkling on top after boiling
Baking Soda Bath
- BAKING SODA – gives the outside of the pretzel the deep golden-brown crust
- WATER – helps create the chewy exterior crust
TIP: the most accurate way to measure flour is to never scoop it up, always spoon it into the measuring cup and level it off

How To Make High Altitude Sourdough Dinner Rolls:
- MIX WATER, YEAST, & SUGAR – combine the water, yeast and sugar, let sit for 2-3 minutes
- ADD BUTTER. FLOUR, & SALT – allow the melted butter to cool to 100-110° F. Add in the butter, salt, and flour. TIP: Add in the flour one cup at a time, allowing the mixer to knead the dough for a minute or two in between each cup.
- KNEAD THE DOUGH – using the dough hook on a stand mixer, mix on LOW speed, or by hand until the dough comes together. The dough should smooth and minimally sticky. If using a stand mixer, the dough should not stick to the sides or bottom of the bowl.
- FIRST RISE – remove the dough from the mixing bowl and smooth the dough into a bowl. Grease the inside of the mixing bowl and add the dough ball back in. Cover the top of the bowl with plastic wrap or a tea towel. Let rise at room temperature for approximately 1 hour or until double in size.
- DIVIDE THE DOUGH– remove the dough from the bowl and place on a lightly floured surface. Divide the dough into 8 equal portions.
- SHAPE THE BUNS – shape each portion into a ball by grabbing the edges of the portion and pulling them into the center, creating a smooth surface on one side. Place the smooth side of the dough ball into the palm of your hand. Place the dough ball onto the work surface, while pressing down slightly move the dough ball around in a circle. This will create tension on top for an extra smooth surface and seal the seams of dough on the bottom.
- SECOND RISE – cover the dough balls with a plastic wrap or a tea towel. Let the dough rise until doubled in size. Use this time to preheat the oven to 425° F and boil the water.
- BRING WATER TO BOIL, PREHEAT OVEN, PREPARE BAKING SHEET – while the dough balls are rising, preheat the oven to 425° F, boil the water, and prepare a large baking sheet with parchment paper.
- ADD BAKING SODA – CAREFULLY add the baking soda into the boiling water. The water will bubble A LOT.
- BOIL THE DOUGH – carefully add 2 buns into the boiling water with a slotted spoon. Boil for 30 seconds then flip the buns over for another 30 seconds. Immediately remove the buns from the water and place on the prepared baking sheet. Sprinkle the tops of each buns generously with coarse salt while they are still wet. Repeat this until all the buns have been boiled.
- SCORE THE BUNS – with a sharp knife or scissors cut an X pattern into the top of each bun, cutting approximately 1/2 inch deep.
- BAKE & ENJOY! – bake at 425° F for 20-22 minutes or until the tops are a deep brown color. Let the buns cool on a wire rack before enjoying!
Find the full ingredients list and directions in the recipe box below.

FAQs:
How do you store homemade pretzel buns?
Store fully cooled pretzel buns in an airtight container at room temperature for 1–2 days. For longer storage, freeze them and thaw as needed.
Can pretzel buns be made ahead of time?
Yes! Pretzel buns can be baked ahead and stored at room temperature for up to 2 days, or frozen for up to 2 months. Reheat briefly in the oven before serving.
Why are my pretzel buns not browning?
This usually happens if there’s not enough baking soda in the water or if the buns weren’t boiled long enough. An alkaline bath is what triggers proper browning in the oven.
Can I make pretzel buns without baking soda?
You can, but they won’t have the same pretzel flavor or color. Baking soda is essential for achieving that classic pretzel taste and deep browning.
Other High Altitude Recipes:


If you make this delicious High Altitude Pretzel Buns recipe please rate this recipe and leave a comment below about how it turned out. If you have any questions, post them below and I would love to help you out.

High Altitude Pretzel Buns
Wild Flour Recipes | Baking at 8,000 ft
www.wildflourrecipes.com
Equipment
- Electric stand mixer
- Measuring Cups
- Plastic wrap or tea towel
- Large Pot
- Slotted Spoon
- Large Baking Sheet
- Parchment paper optional
Ingredients
Pretzel Bun Dough
- 1 ¼ cup Warm Water
- 2 ¼ teaspoon Active Dry Yeast
- ¼ cup Butter melted
- 1 teaspoon White Sugar
- 3 ½ cups All Purpose Flour optional Bread Flour
- 2 teaspoon Table Salt
- Course Salt for sprinkling on top
Baking Soda Bath
- ½ cup Baking Soda
- 6 cups Water
Instructions
- MIX WATER, YEAST, & SUGAR – combine the water, yeast and sugar, let sit for 2-3 minutes.
- ADD BUTTER. FLOUR, & SALT – allow the melted butter to cool to 100-110° F. Add in the butter, salt, and flour. TIP: Add in the flour one cup at a time, allowing the mixer to knead the dough for a minute or two in between each cup.
- KNEAD THE DOUGH – using the dough hook on a stand mixer, mix on LOW speed, or by hand until the dough comes together. The dough should smooth and minimally sticky. If using a stand mixer, the dough should not stick to the sides or bottom of the bowl.
- FIRST RISE – remove the dough from the mixing bowl and smooth the dough into a bowl. Grease the inside of the mixing bowl and add the dough ball back in. Cover the top of the bowl with plastic wrap or a tea towel. Let rise at room temperature for approximately 1 hour or until double in size.
- DIVIDE THE DOUGH– remove the dough from the bowl and place on a lightly floured surface. Divide the dough into 8 equal portions.
- SHAPE THE BUNS – shape each portion into a ball by grabbing the edges of the portion and pulling them into the center, creating a smooth surface on one side. Place the smooth side of the dough ball into the palm of your hand. Place the dough ball onto the work surface, while pressing down slightly move the dough ball around in a circle. This will create tension on top for an extra smooth surface and seal the seams of dough on the bottom.
- SECOND RISE – cover the dough balls with a plastic wrap or a tea towel. Let the dough rise until doubled in size. Use this time to preheat the oven to 425° F and boil the water.
- BRING WATER TO BOIL, PREHEAT OVEN, PREPARE BAKING SHEET – while the dough balls are rising, preheat the oven to 425° F, boil the water, and prepare a large baking sheet with parchment paper.
- ADD BAKING SODA – CAREFULLY add the baking soda into the boiling water. The water will bubble A LOT.
- BOIL THE DOUGH – carefully add 2 buns into the boiling water with a slotted spoon. Boil for 30 seconds then flip the buns over for another 30 seconds. Immediately remove the buns from the water and place on the prepared baking sheet. Sprinkle the tops of each buns generously with coarse salt while they are still wet. Repeat this until all the buns have been boiled.
- SCORE THE BUNS – with a sharp knife or scissors cut an X pattern into the top of each bun, cutting approximately 1/2 inch deep.
- BAKE & ENJOY! – bake at 425° F for 20-22 minutes or until the tops are a deep brown color. Let the buns cool on a wire rack before enjoying!